
What is single video trim?
Instead of creating a new video from segments from different sources (via Studio), you can edit one existing video: mark segments to remove, and the system will produce a new video containing only what remains.
The original video stays unchanged. The trimmed version is a separate record in the system (title like Trimmed - … or similar).
When is this area available?
- The video is ready (not processing).
- Local / uploaded media — not an external YouTube-only video.
- You have edit permission on the video (owner, admin, or content manager).
If the area does not appear, check the video status or media type.
Opening the trim editor
- Go to video management from the menu.
- Find the video and click Edit.
- On the video settings page, scroll to timeline video editing (below the player, above "General details").
How does trimming work?
The approach is "what to remove": you mark segments to remove, and everything else stays in the new version.
You can remove multiple segments from the same video — for example a short intro and a section in the middle of the lecture.
Interface components
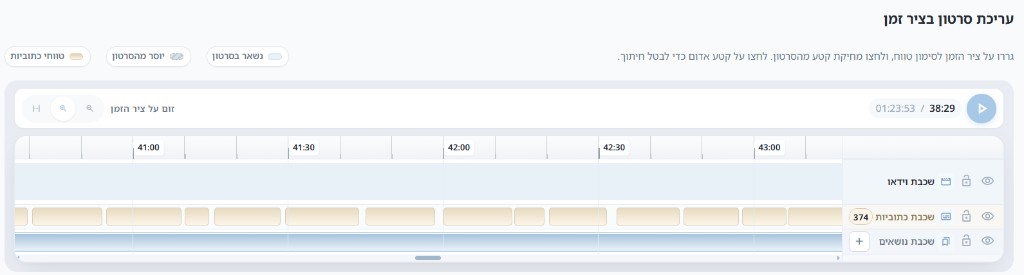
- Player — play/pause and current time (current time / full length).
- Timeline — three layers: video, captions (if available), navigation topics.
- Timeline zoom — zoom in, zoom out, and fit to screen width.
- New video duration — updates after you mark at least one segment for removal.
- Reset trims — clears all removal markers at once.
Marking a segment for removal
- On the timeline, drag over the time range you want to remove.
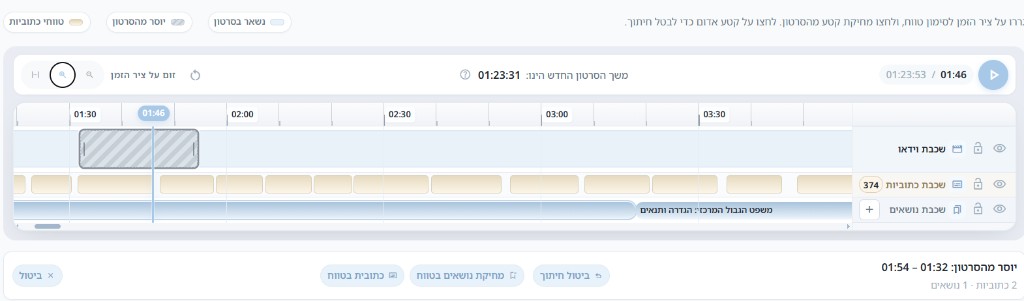
- A selection bar appears with start and end times, and a summary of how many captions and topics fall in the range.
- Click Remove segment from video — the segment is marked as "will be removed" (hatched background on all layers).
- Repeat for each additional segment to remove.
Keyboard shortcuts (when focus is not in a text field): Delete or Backspace removes the selected range.
Canceling or changing a trim
- Click a marked segment on the timeline to select it; then you can cancel trim.
- You can drag the end handles of a marked segment to change removal boundaries.
- Reset trims — clears all markers (before creating the new video).
Additional timeline actions
In the same editor, without creating a new video:
- Navigation topics — add, edit, or delete chapters (click the topics layer or "+").
- Caption in range — add a new caption in the selected range (when captions are ready).
- Delete topics in range — removes chapters that fall within the selection.
These actions are saved with Save / Save and return — not with "Create new video".
Editing the captions list
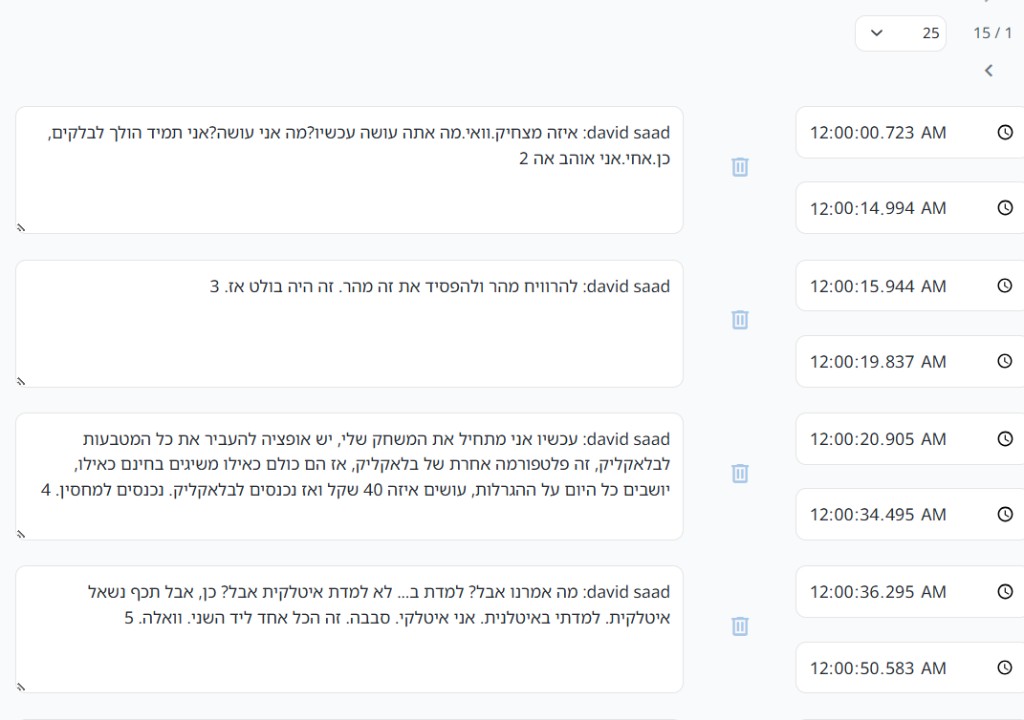
In the transcription/captions area (below the timeline or in a dedicated tab) you can edit each sentence, change start and end times, or delete a row — separately from video trimming.
Artificial intelligence (AI) on the same screen
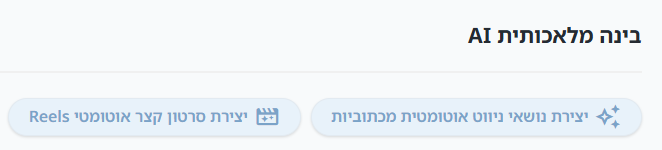
In video settings, when captions are ready, an Artificial intelligence (AI) area appears with optional actions (not part of video trimming itself):
- Create navigation topics automatically from captions — up to about 10 chapters based on caption text.
- Create automatic Reels short video — highlights up to about one minute from captions (separate new video).
Detailed guide: Auto navigation topics and AI chat.
Creating the trimmed video
- After marking all segments to remove, verify that new video duration matches your expectation.
- A Create new video button appears in the page header (instead of "Save") — only when there is at least one trim.
- Click Create new video.
- A message appears: The process of creating the new video from segments is now running in the background…
- Processing runs in the background. After a few minutes the new video will be ready; you may be redirected to the new video's edit page.
Difference from Studio
| Single trim (video settings) | Studio |
|---|---|
| One source — remove segments from it | Segments from multiple videos — combine into one |
| New video; original remains | New video from assembling segments |
| Timeline editor + segment removal | Select segments to include from each source |
Verifying the result
- Search the video list for the new record (usually a title with a trim prefix).
- Open the watch page and play — verify that removed segments do not appear.
- If the result is wrong, return to editing the original video, fix the markers, and click "Create new video" again.
Long videos or many segments to remove may take longer — wait for the background message to complete.